Get it all out at the beginning.
Most people don’t take the time to plan. What ends up happening is the scope of the project they started gets way out of hand and requires extensive resources, doesn’t get completed, or turns up way past deadlines.
Brainstorming eliminates some of that. By jotting out ideas, evaluating their probable success neutrally, and deciding which to incorporate into the final design, one is able to ascertain the scope of a project before it starts.
Don’t judge. Jot it down!
Get all of the ideas about a project on the table — even the bad ones. Perhaps especially the bad ones. Upon secondary review, you’ll find that you can eliminate mediocre ideas and find the true focus. We can learn as much from our bad ideas as our good ones.
eLearning Application
Try to map out branching scenarios
When designing eLearning, consider drawing out your scenarios. It’ll get messy and maybe confusing, but that’s half the fun. By the time you have the basic structure of the branching architecture, you’ll be able to build a framework for the scripting process.
Instead of being surprised by the volume of the script needed after you’ve already dived into a project, plan ahead!
Draw out rough sketches layouts before starting to design
This applies not only to interface design, but to the layout of print materials. It allows you to build the document from the basics using templates, rather than constantly adjusting content to adapt to the material.
Home Application
Dining room design brainstorm
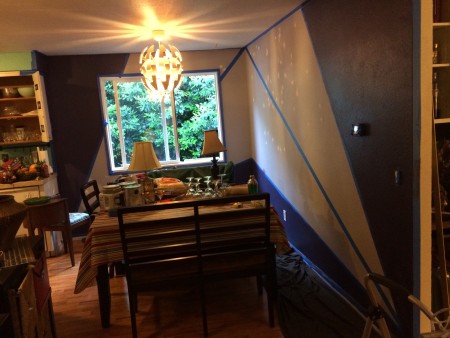
Since my partner moved in, painting the dining room a more dramatic color was something he wanted. Of course, it was pushed down the list of priorities as more important tasks came up. Finally, memorial day weekend came, and we were able to complete the dining room.
Our concept started out pretty simple. A line would divide the wall, approximately at chair rail height, with the existing color on the top half and a new color on the bottom half. Simple enough, right?
The ideas start flowing.
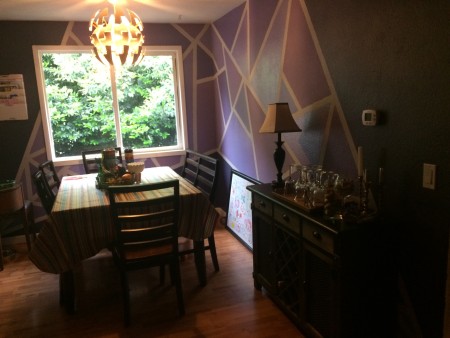
Fifteen color samples taped to the wall later, we end up picking the colors. We decide to get two shades from the same sample grid. A medium tone at the top, a darker color at the bottom. One would go in his closet, the other on the dining room wall.
Then, I got this brilliant inspiration from Patapon. Brilliant, yes, and terrifying when you consider I intended for us to hand paint 18 linear feet of characters.
I was thinking maybe a mountain scene at one point. Or some kind of ridiculous urban-suburban-rural mural or something. When he wanted to do an exact replica (I’m exaggerating) of the Portland skyline that was when things started to fall apart.
At one point, it seemed likely that we were going to go buy a $400 projector.
That was about 45 minutes before I decided to practice what I preach and actually brainstorm.
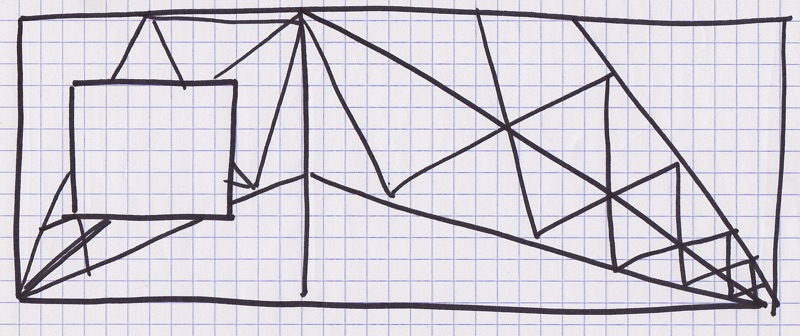
We decide to brainstorm.
“Nothing is off limits. Do as many designs in 15 minutes as you can. When time is up, we’ll review.”
At the end of fifteen minutes, we each had about ten solid designs to share. They ranged from pixelated treasures, flying unicorns, time travel, and more cityscapes. When we got to my prismatic triangle concept though, my partner was already sold.
We had the two paint colors from earlier in the morning, and a few random gallons of oops paint I had purchased at some point. After we talked about it a bit more, we decided we just needed to get at it.
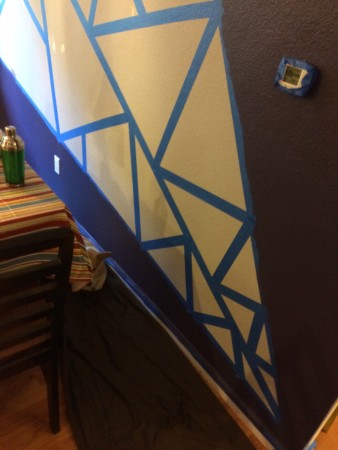
Tape the outer edges, fill in from there.
We started by taping out the the edges of the triangle. After that, we just continued to make smaller and smaller triangles. We were conscious of how many edges we were creating, to avoid repetition in the tones.